7 Steps to Make the Best Knock You Naked Bars Recipe
Have you ever tasted a dessert so rich, gooey, and utterly addictive that it left you wondering how something so simple could be so delicious? That’s exactly what happens when you try Knock You Naked Bars. These indulgent treats combine layers of soft cookie dough, melted caramel, and gooey chocolate in a way that makes them completely irresistible.
Whether you’re baking for a special occasion, a family gathering, or just to satisfy your sweet tooth, this Knock You Naked Bars recipe will not disappoint. In this guide, you’ll learn exactly how to make them, including tips for getting the perfect texture, storage methods, and variations to suit your taste.
Table of Contents
Now, let’s dive into the recipe and see how you can create this masterpiece in just seven simple steps.
What Are Knock You Naked Bars?
If you’ve never heard of these bars before, you might be wondering what makes them so special. Knock You Naked Bars are a layered dessert that features:
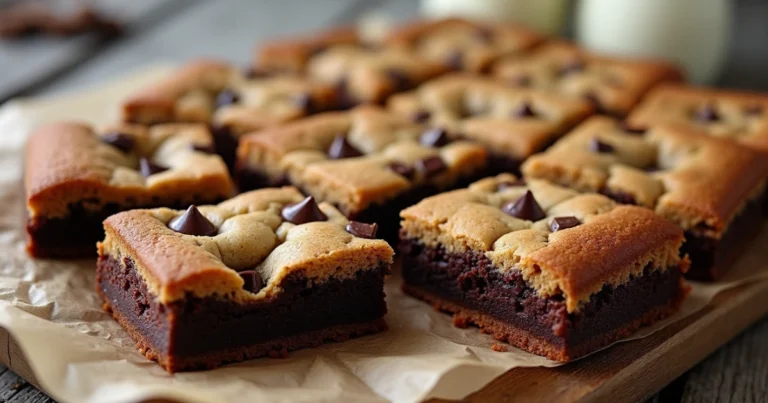
- A soft and chewy chocolate chip cookie base
- A rich and gooey caramel center
- A chocolatey topping with optional nuts for added crunch
The magic of these bars lies in the texture each bite delivers a perfect balance of sweetness, chewiness, and melt-in-your-mouth caramel. Plus, they are incredibly easy to make with ingredients you likely already have in your pantry.
Ingredients You Need to Make Knock You Naked Bars
Before you begin, gather all your ingredients to make the process smooth and efficient.
Main Ingredients Table
| Ingredient | Quantity |
|---|---|
| Butter (softened) | 1 cup (2 sticks) |
| Brown sugar | 1 ¾ cups |
| Granulated sugar | ½ cup |
| Eggs | 2 |
| Vanilla extract | 1 teaspoon |
| All-purpose flour | 2 ½ cups |
| Baking soda | 1 teaspoon |
| Salt | ½ teaspoon |
| Chocolate chips | 2 cups |
| Caramel candies (unwrapped) | 14 oz |
| Heavy cream | ⅓ cup |
| Chopped pecans (optional) | ½ cup |
Once you have these ingredients ready, it’s time to start baking.

Step-by-Step Instructions for the Best Knock You Naked Bars
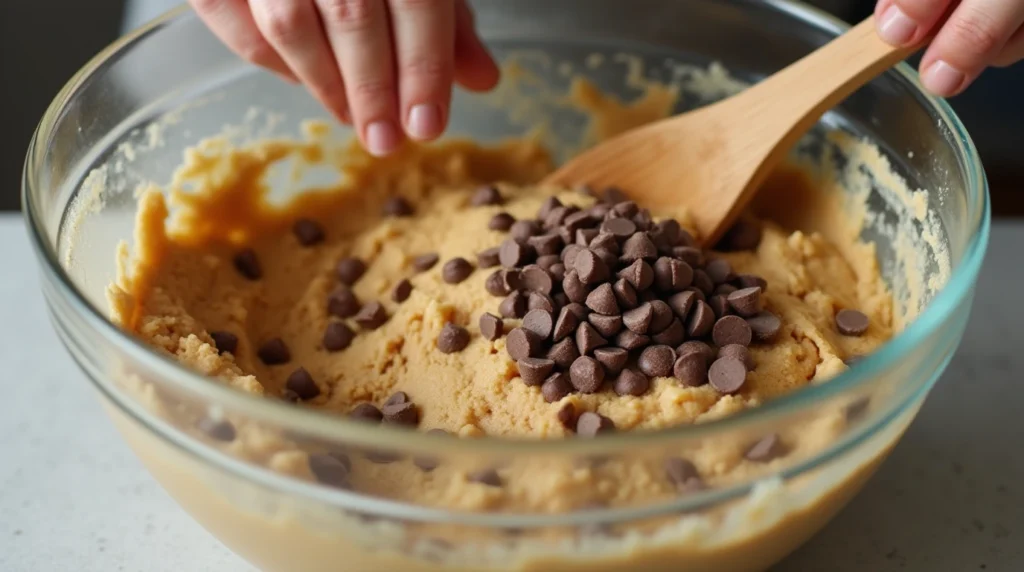
Step 1 – Prepare the Cookie Dough
- Preheat your oven to 350°F (175°C).
- In a large mixing bowl, beat butter, brown sugar, and granulated sugar until the mixture is light and fluffy.
- Add the eggs one at a time, followed by the vanilla extract, and continue mixing until well combined.
- Gradually mix in the flour, baking soda, and salt, ensuring everything is well incorporated.
- Stir in the chocolate chips to complete the dough.
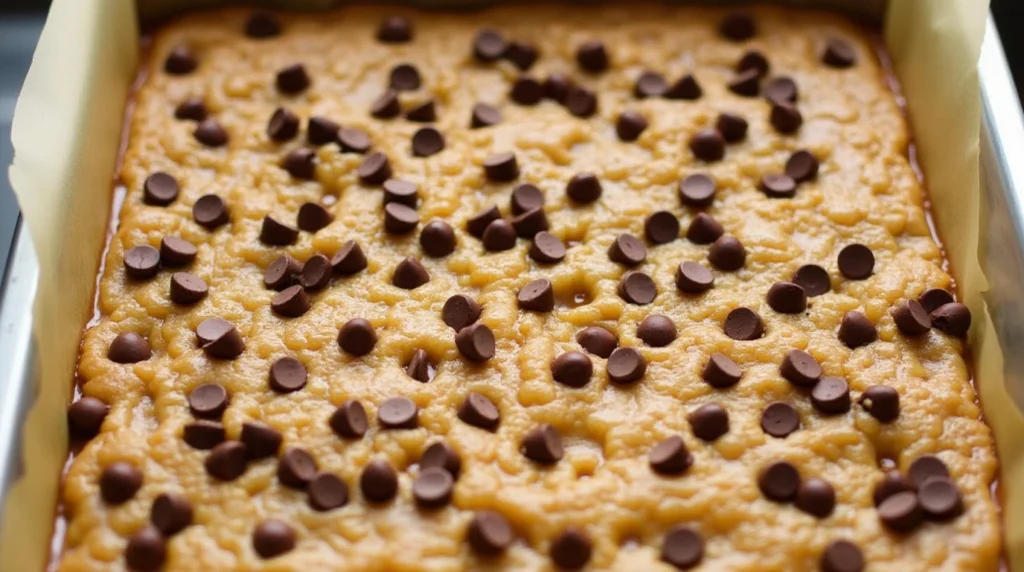
Step 2 – Bake the Bottom Layer
- Line a 9×13-inch baking pan with parchment paper to prevent sticking.
- Press half of the cookie dough evenly into the bottom of the pan.
- Bake for 10 minutes, then remove from the oven and let it cool slightly.
Step 3 – Melt the Caramel for the Filling
- In a microwave-safe bowl, combine caramel candies and heavy cream.
- Microwave in 30-second intervals, stirring in between, until smooth and fully melted.
- Be careful not to overheat, as caramel can burn quickly.
Step 4 – Layer the Caramel Filling
- Pour the melted caramel evenly over the baked cookie layer.
- If using chopped pecans, sprinkle them over the caramel for added texture.
Step 5 – Add the Top Cookie Layer
- Flatten the remaining cookie dough into a thin sheet and gently place it over the caramel layer.
- Press lightly to ensure an even top layer.
Step 6 – Bake Until Golden Brown
- Return the pan to the oven and bake for 25-30 minutes, or until the top layer is golden brown.
- The bars may look slightly soft in the center, but they will firm up as they cool.
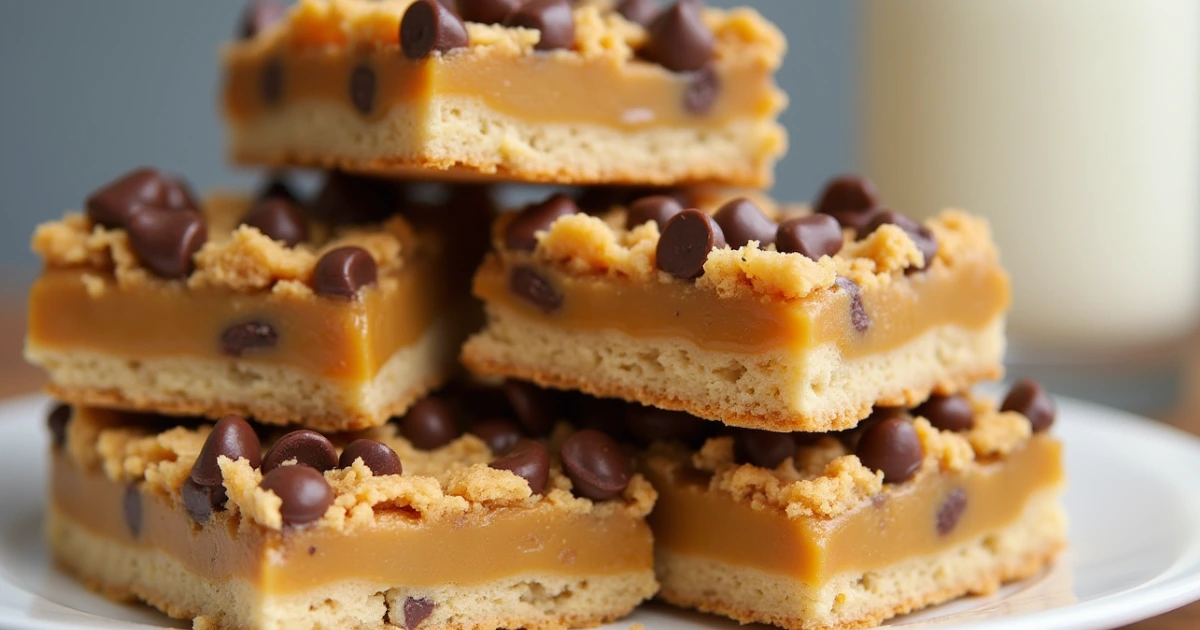
Step 7 – Cool, Slice, and Serve
- Let the bars cool completely before slicing. For best results, refrigerate them for 1-2 hours before cutting.
- Use a sharp knife to cut into squares, ensuring clean edges for a perfect presentation.
Pro Tips for Perfect Knock You Naked Bars
- Refrigerate before slicing – Chilling the bars makes them easier to cut without the caramel oozing out.
- Use parchment paper – This prevents sticking and makes cleanup effortless.
- Add a pinch of sea salt – A sprinkle of salt on the caramel enhances the flavor and balances the sweetness.
Customizing Your Knock You Naked Bars
While the classic recipe is delicious on its own, you can tweak it to match your preferences.
Variations to Try
- Peanut Butter Version – Spread a thin layer of peanut butter over the caramel before adding the top cookie layer.
- Nut-Free Option – Skip the pecans to make the recipe allergy-friendly.
- Extra Chocolatey Bars – Melt extra chocolate and drizzle it over the cooled bars for a richer flavor.
How to Store Knock You Naked Bars
Storing at Room Temperature
- Keep the bars in an airtight container at room temperature for 3-4 days.
Refrigerating for Extended Freshness
- If you want to keep them longer, store them in the fridge for up to a week.
Freezing for Later
- Wrap individual bars in plastic wrap, then place them in a freezer-safe bag.
- Freeze for up to 3 months and thaw at room temperature before eating.
Frequently Asked Questions (FAQ)
Can I Use Homemade Caramel Instead of Caramel Candies?
Yes, you can make your own caramel using butter, sugar, and heavy cream. Just be sure it has a thick consistency so it doesn’t soak into the cookie layers.
Why Are My Knock You Naked Bars Falling Apart?
If your bars are too soft, they may need more time to cool. Chilling them in the refrigerator before slicing helps maintain their structure.
Can I Make Knock You Naked Bars Gluten-Free?
Absolutely. Substitute the all-purpose flour with a gluten-free baking mix, and your bars will still turn out delicious.
What’s the Best Way to Cut Knock You Naked Bars Neatly?
Use a sharp knife dipped in hot water before slicing. This helps cut through the caramel without making a mess.
Conclusion: A Dessert Worth Making Again and Again
Now that you know how to make the best Knock You Naked Bars, it’s time to get baking. These bars are perfect for sharing with family and friends, bringing to potlucks, or enjoying as a well-deserved treat.
With their gooey caramel, chewy cookie layers, and irresistible flavor, Knock You Naked Bars are guaranteed to become one of your favorite homemade desserts.
Try this recipe today, and don’t be surprised if you’re asked to make them again and again.